Creating Ultra Gradients in Flutter

Choosing the right background and surface colors in your app is always challenging and plain backgrounds are boring, especially when you are building apps with Flutter. Flutter was built to create beautiful experiences so why spend time building boring apps?
I have been working on a mobile app that supports different color schemes along with dark mode (thanks to Material 3 support for Flutter) to cater to the needs of the user and adapt to user preferences. But one thing that really makes the experience bland is the plain backgrounds and surfaces. We could have used Linear, Radial Gradients but choosing the right color to support multiple color themes and the dark mode is tedious and limited, Ultra gradient opens up a wide spectrum of colors and makes the content visible well, even in the dark mode.
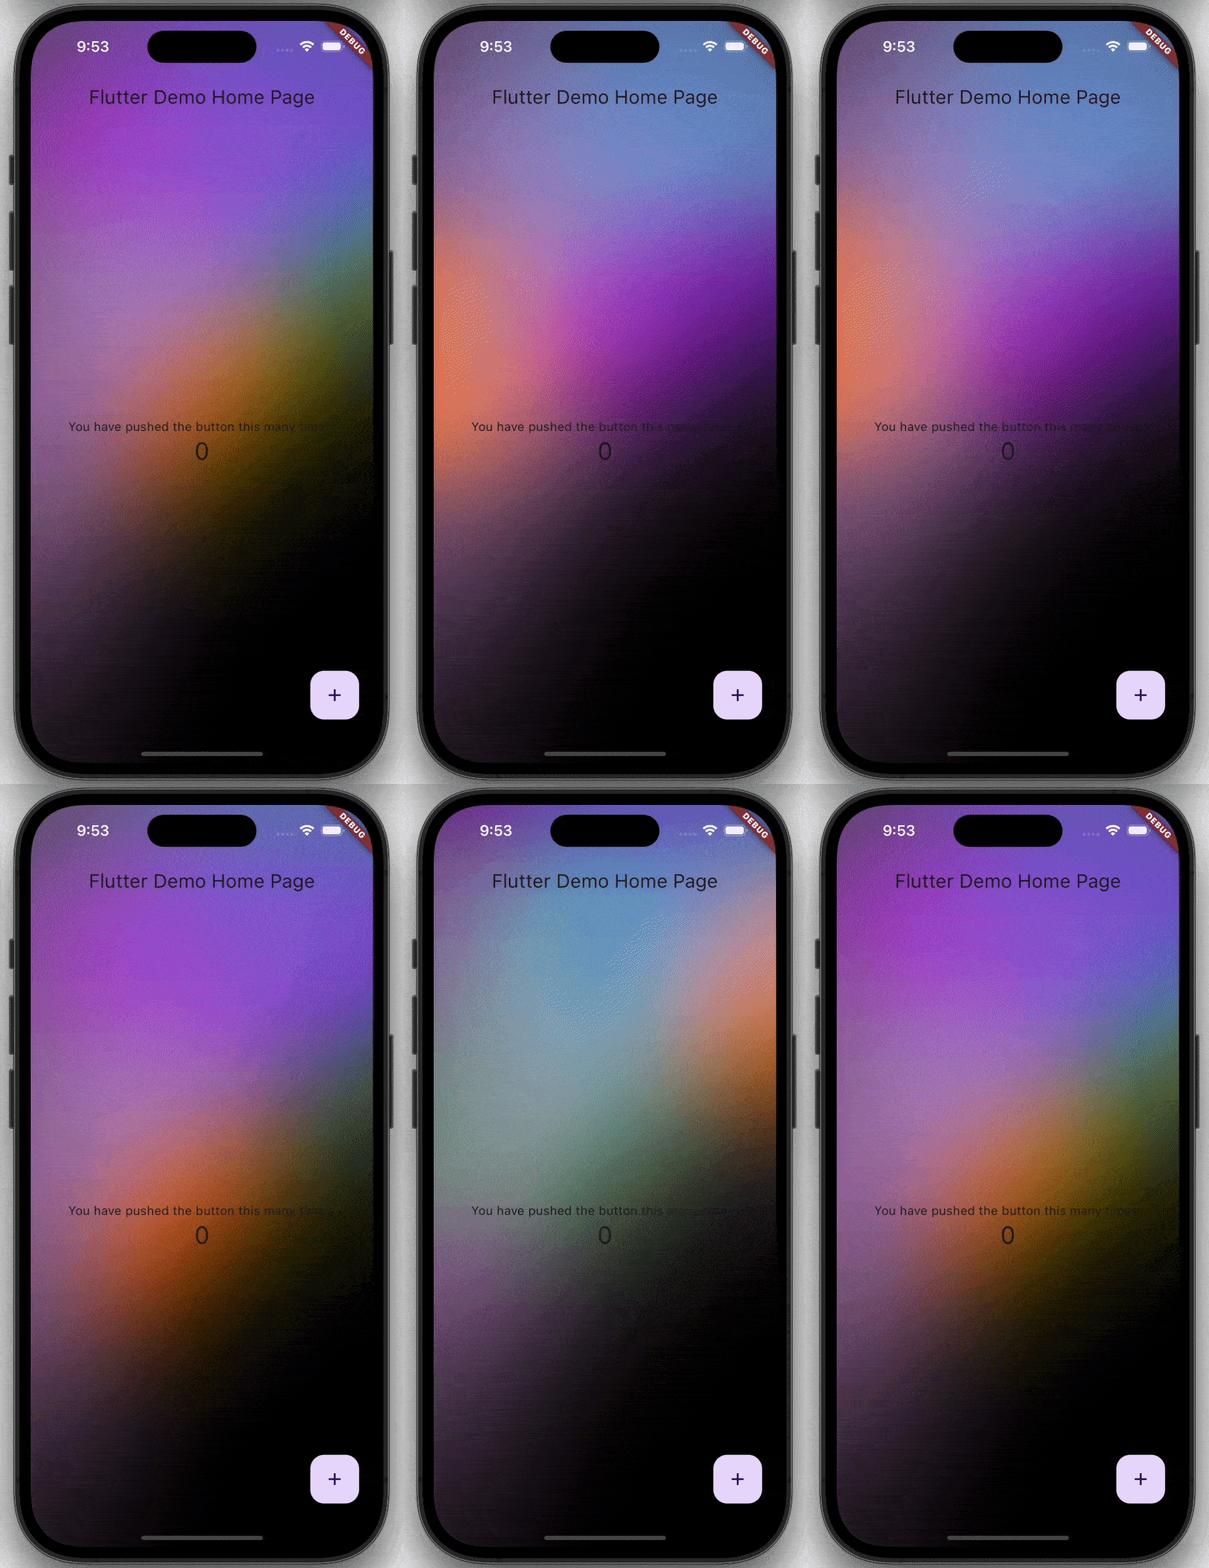
By the end of this blog post, you will learn to create this animating ultra gradient in Flutter.

I came across this tweet the other day, which shows how to add ultra gradients in Figma I took that approach to flutter and the result turned out to be beautiful.
At first glance it might seem challenging to implement this type of gradient without any third-party asset, However, if we follow the breakdown of intricacies provided by Mans in his tweets, achieving it becomes much more feasible.
So let's dive into the code and bring it into practice. We first start with a new flutter project with the usual counter app.

Now Since we are trying to create a background for our app we Should make the code reusable so we will create a Background Widget let's name it UltraBackground that takes a widget as input. An UltraBackground may need access to the default material colors so we will use Material Widget on top.
Since the ultra gradient is basically a layer beneath our widgets we will use a Stack to layout widgets on top of each other. With this change, your code should look something like this (Although no change in the output so far)

To start we need some background color to be painted for the ultra gradient to show up when the blobs are painted. So We will paint a background with a “black” Color. We can do this with the help of CustomPainter class.

This should make the entire screen black making the content invisible and that is fine for now

Now let's draw Some Abstract Shapes that we want to paint in the background, We will draw one abstract shape using a bezier curve and a square.

Now Apply a blur to these shapes using
paint.maskFilter = MaskFilter.blur(BlurStyle.normal, 100);
Add the above line before we paint these two shapes for the blur effect to be applied to them. With the above implementation, we should see these two shapes drawn with a blur effect.

Now let's add some Contrasting shapes to the canvas, For simplicity we will draw an ellipse, A circle, and a Triangle.

With the above change, you should see the below output.

Now let's apply a blur effect to these shapes and set the blend mode to overlay for these three shapes and we should see the Ultra Gradient in effect. We can do this by just adding the two lines in drawContrastingBlobs
void drawContrastingBlobs(Canvas canvas, Size size, Paint paint) {
    paint.maskFilter = MaskFilter.blur(BlurStyle.normal, 30);
    paint.blendMode = BlendMode.overlay;
    drawCircle(canvas, size, paint);
    drawTriangle(canvas, size, paint);
    drawEllipse(canvas, size, paint);
  }
And we should see the following gradient on the Screen.

The result of the effect is totally dependent on the choice of colors and the Opacity. Let's take this a bit further and pair it with animation to make the effect dynamic. If we move the shapes around we should see different colors blending together to produce a dynamic gradient.
For that, we first need to decide the path these shapes will travel around we will draw a bezier curve for these shapes to smoothly move around.
so let's paint some paths on the screen to get a clear picture of their trajectory. The purple path is for Ellipse, Orange is for Circle and Green is for Triangle, These three shapes will move to and fro along this path.

So the last part we need to do is we need to change the position of these shapes along the path, But How do we identify the position of these shapes at a particular instance? Fortunately, flutter provides us with ComputeMetrics Api which basically gives us the details about the path and we can use it to find the offset of a widget where it lies along the path at a particular instance and pair it with animation to smoothly move it along the trajectory. Putting it all together you should see the shapes moving this way.

We will also apply a blur effect between the canvas and the child for the generating colors to smoothly blend well together.

And finally applying the mask and the blur effect we should see this output

The complete code sample is available in a Github gist. Don't forget to explore the entire open-source project on Github for a deeper understanding. Additionally, you can experience the app firsthand on the Playstore. Thanks for taking the time to read hope this helps you create stunning backgrounds for your app. Happy Fluttering!